

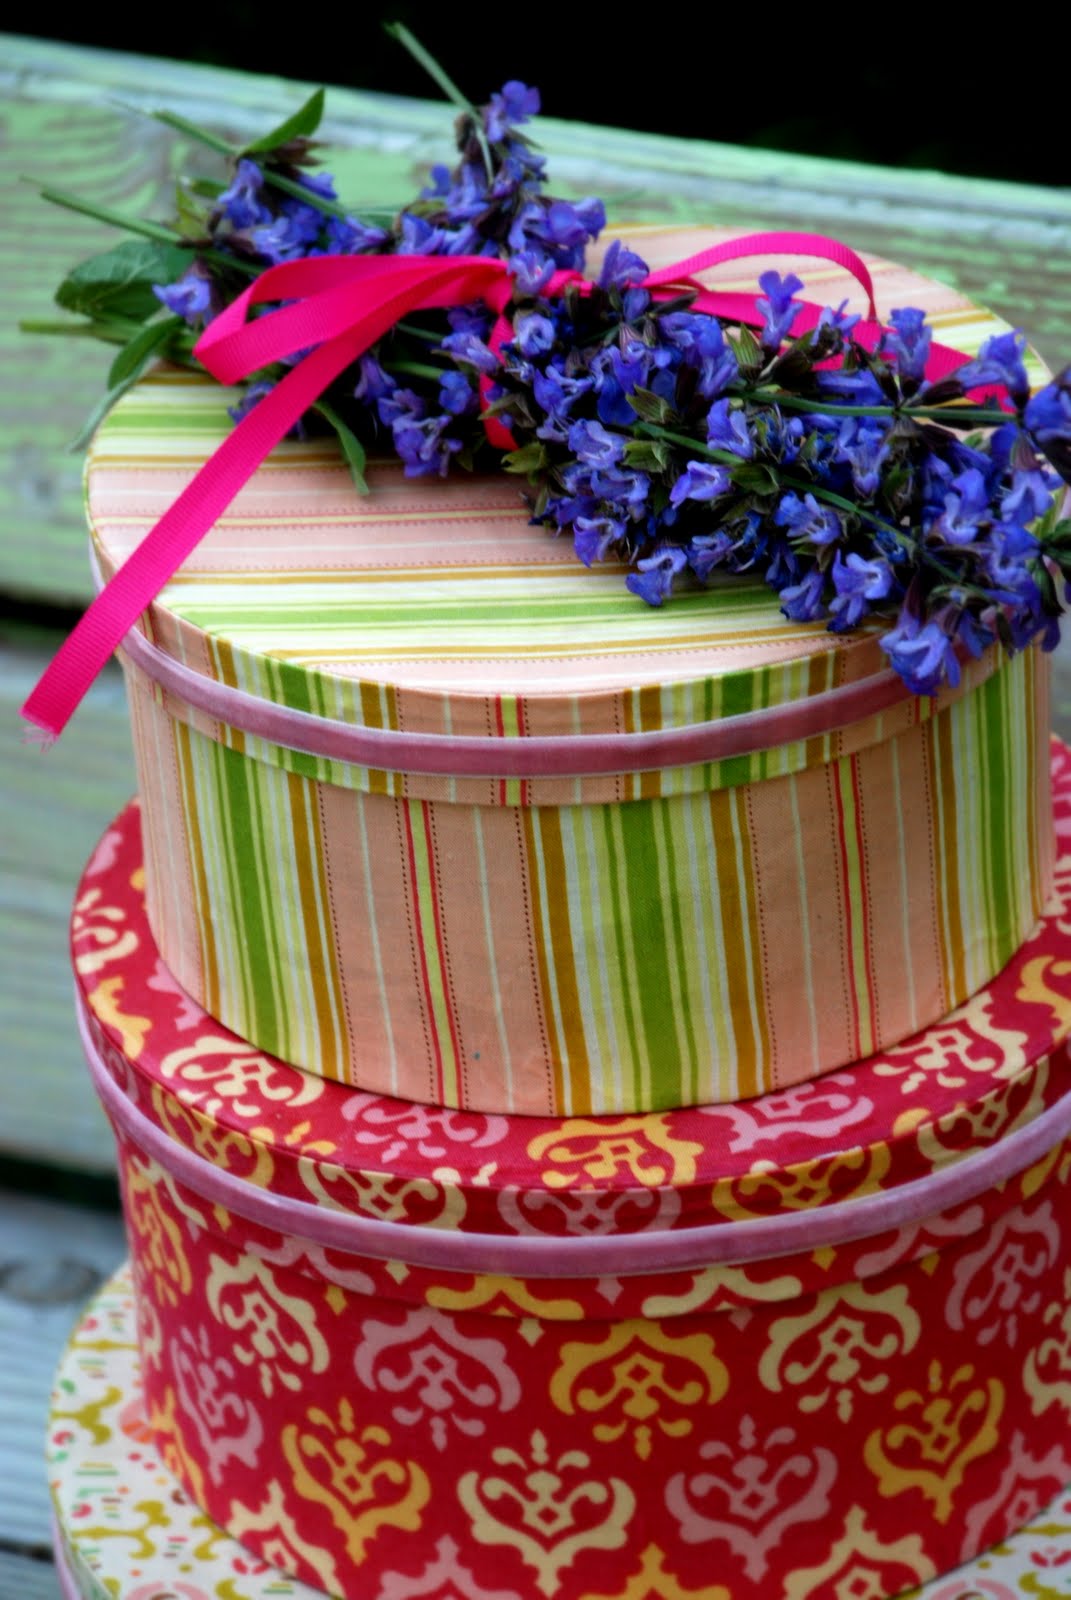
This project was so much fun. These boxes are for my girls "treasures" but they blend right in with the decor. It beats the old shoe boxes they used before. Now those were classy.
The best part: No sewing necessary!
Supplies:
Paper Mache Hat Boxes (Found at hobby stores like JoAnn, or just search online)
Fabric
Decoupage
Ribbon
Ruler
Paint brush
1. Measure those boxes!
Measure the boxes then cut your fabric to size. Give yourself a little extra to fold over so you have nice finished edges.

2. Cover those boxes.
Use your paintbrush and use a little decoupage at a time. Work your way around the box making sure to fold the edges. I folded the bottom up so it was a nice finished edge. On the top edge, I just folded it into the box.
3. Cover those lids.
I traced the circles onto my fabric. Then I cut about 1/2" past my line so I could fold the circle down the sides. Next, I cut a strip to wrap around the side of the lid. I made sure to fold both the top and bottom of the strip so the edges would be nice and finished.

4. Embellish those boxes.
Ribbon, flowers, or leave them blank. The choice is all yours!
Enjoy!
 PS. Linking up to a few of my fav's...


HI there
ReplyDeleteJust found your blog through Trendy treehouse creative share today! Love your boxes! Very pretty!
Beautifully done. The fabric worked wonderfully with the decoupage medium. I like the fabric combination of the 3 boxes together, although I don't know if you planned to display them in that way. I actually do have a "hat box" and I think I have a place to put it too! I will check that out!
ReplyDeletejust lovely! Would love to try it but I know it would not turn out so beautifully. New follower from Trendy Treehouse.
ReplyDeleteThis really was an easy one, and I'm sure you could do it, hancock. Really and truly!
ReplyDeleteYour boxes look so lovely! Like the fabric combination!!
ReplyDeleteI realy like your fabric covered boxes, they look great!
ReplyDeleteSo pretty! I've never had enough patience to try stuff like that. They're sooo cute! Love that Heather Bailey fabric!!!
ReplyDeleteWhat pretty fabrics you found. I especially like the middle one. I'm not sure I'd let my kids handle these! I'd love for you to link these up with Fabric Fun Thursday later tonight (or tomorrow):).
ReplyDeleteAbsolutely lovely idea! I love these! I will feature this at somedaycrafts.blogspot.com later today! Grab my "featured" button.
ReplyDeleteThanks Michelle! I feel like a rock star! LOVE your site. So many great ideas!
ReplyDeleteI love those! I used to have a fascination with hat boxes when I was little. Hat boxes and train cases actually =) Cute.
ReplyDeleteWhat a FABULOUS idea! I love how cute these turned out! Thanks for linking up to Hoo's got talent!
ReplyDeleteThose boxes are so sweet! I love the addition of the velvet ribbon :0)
ReplyDeleteThese are so cute! I'm sure your girls love them. I host a blog party every Saturday and would love it if you linked up!
ReplyDeleteHope you're having a great day!
Laura
I'm also a new follower. You have a beautiful blog!
ReplyDeleteThese boxes came out so adorable!!!
ReplyDeleteWow! Those are so cute! Nice job!
ReplyDeleteVery pretty! Looks easy too!
ReplyDeleteSo pretty, and not too difficult!!
ReplyDeleteThese are so beautiful! I love your fabrics and the trim. I know your girls love them!
ReplyDeleteBeautiful hat boxs!
ReplyDeleteThank you for the tutorial.