Showing posts with label freshcut. Show all posts

Sunday, July 18, 2010

Yards and Yards Giveaway: Little Lizard King Pattern

Well, I topped 100 followers this past weekend and I thought we ought to celebrate. Soooo, we are having a giveaway swap.

I'm so excited to do this swap with Little Lizard King. She designs and sells amazing sewing patterns. I whipped one out last Friday and I can tell you, the pattern was easy to follow and it looks so professional when it's all done. So cute!!

Over at her blog you can win this from me. Just make a comment on the giveaway post.


Yahoo for 5 fat quarters from Heather Bailey's Freshcut line. A favorite of mine, for sure!

And over here at Yards and Yards , you can follow and comment for a chance to win any pattern from Little Lizard King AND it includes the rights to make and sell the item as well. She has all sorts of cute patterns. Here are a few samples:


Here are some pics of what I made using her Ruffle Knot Top. SOOO cute!


So follow along and comment for a chance to win over here. Then head on over for a chance at the Heather Bailey Fat Quarters at Little Lizard King's Blog. We'll randomly select the winners on Monday, July 26. Good luck!!

PS. Linking Up to these Fab Parties!


The Girl CreativeThe DIY Show Off Keeping It SimpleMakingSumo Sweet Stuffmmm buttonPhotobucketAll Thingz Related DIY Day @ ASPTLNightOwlCraftingThe Trendy Treehouse http://www.thethriftyhome.comMake it Yours @ My Backyard Eden
Get your craft on Thurs.giveawaysHookingupwithHoHFavorite%2BThings%2BFridaybig%2Bbutton.jpgDecor MammaSimply Designing

Monday, June 21, 2010

No Sew: Fabric Covered Hat Boxes


This project was so much fun. These boxes are for my girls "treasures" but they blend right in with the decor. It beats the old shoe boxes they used before. Now those were classy.

The best part: No sewing necessary!

Supplies:

Paper Mache Hat Boxes (Found at hobby stores like JoAnn, or just search online)
Fabric
Decoupage
Ribbon
Ruler
Paint brush

1. Measure those boxes!
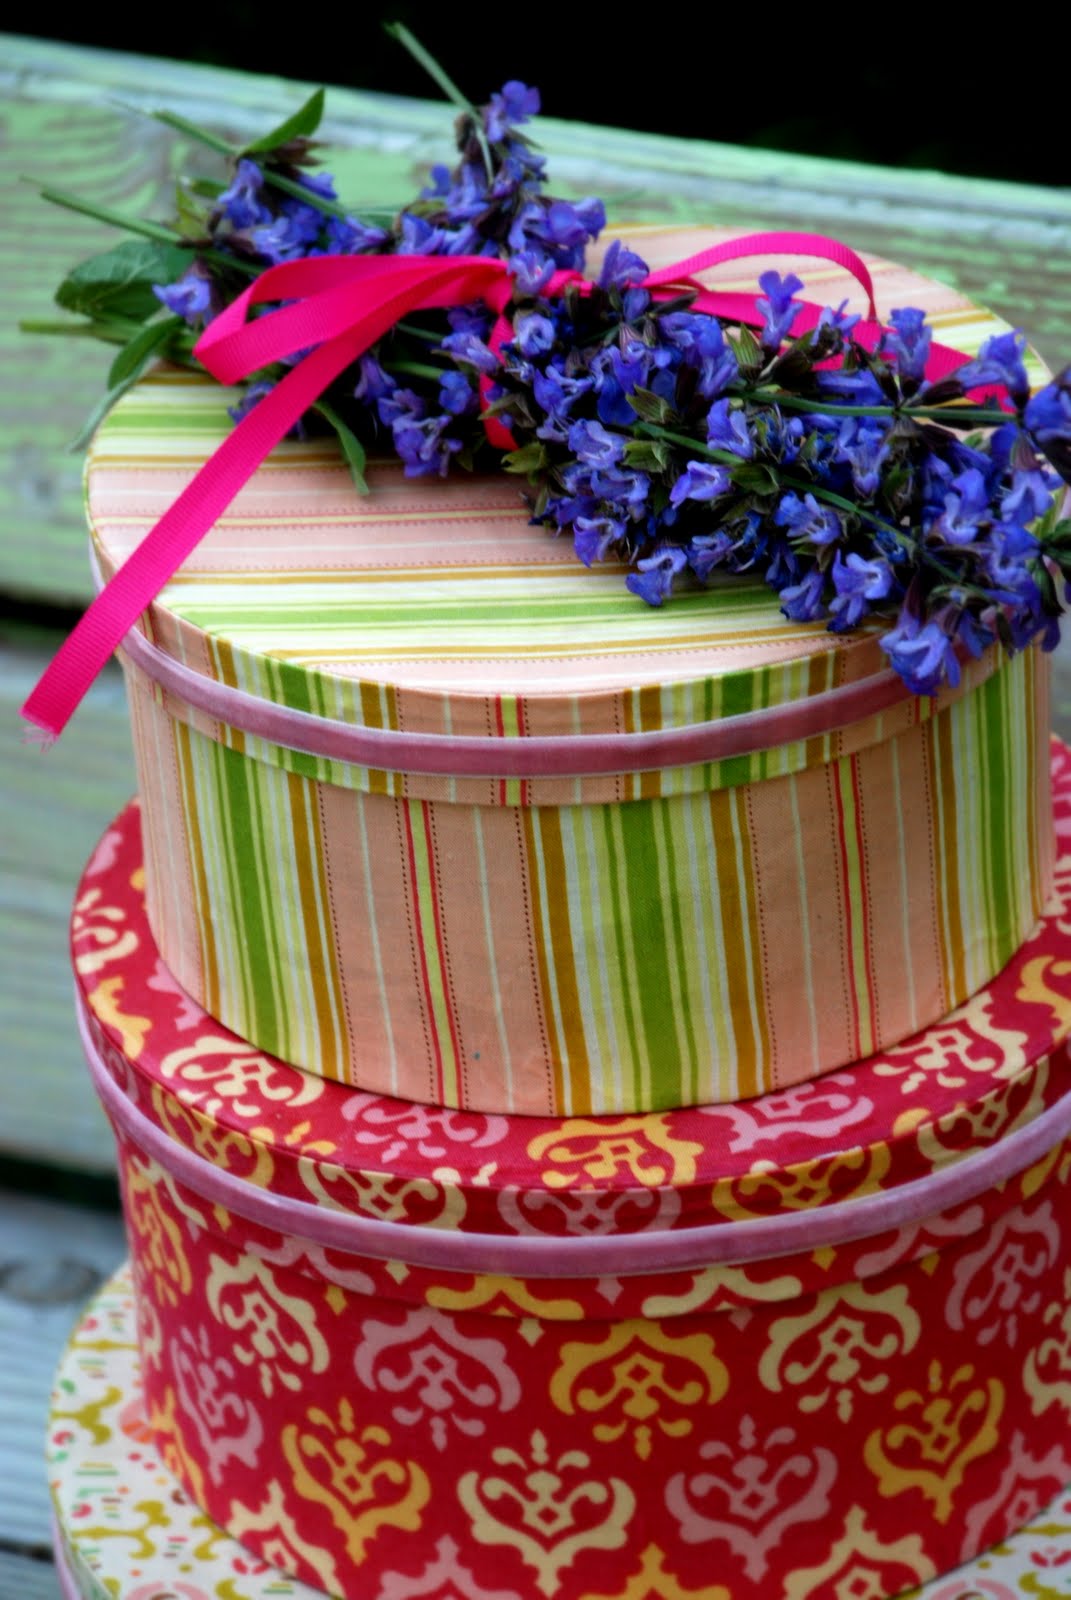
Measure the boxes then cut your fabric to size. Give yourself a little extra to fold over so you have nice finished edges.


2. Cover those boxes.

Use your paintbrush and use a little decoupage at a time. Work your way around the box making sure to fold the edges. I folded the bottom up so it was a nice finished edge. On the top edge, I just folded it into the box.

3. Cover those lids.

I traced the circles onto my fabric. Then I cut about 1/2" past my line so I could fold the circle down the sides. Next, I cut a strip to wrap around the side of the lid. I made sure to fold both the top and bottom of the strip so the edges would be nice and finished.


4. Embellish those boxes.

Ribbon, flowers, or leave them blank. The choice is all yours!

Enjoy!

PS. Linking up to a few of my fav's...

Simply DesigningPhotobucketThe Trendy Treehouse

Make it Yours @ My Backyard EdenNightOwlCrafting

HookingupwithHoHgiveawaysGet your craft on Thurs.
 http://www.thethriftyhome.com