

Well, here we go... another tutorial! I saw something similar to this and I can't for the life of me remember where. Sorry. The one I saw had lots of different fabrics and I wanted to try it with a simple linen fabric. I liked the final product enough to share. So, here you go.
STEP 1: Get your materials
fabric (I used 2 yards of linen)
batting or felt: 14x36 (I love felt instead of batting for table runners, but batting is fine too)
sewing machine
STEP 2: Cut your fabric
Depending on your size, you need to cut 2 pieces for the top and bottom of the runner and cut 1 of the felt/batting. My runner is 14 x 36.
Next, I cut my ruffle pieces. These strips are 4" x Twice the width of your runner. Mine were 4"x28". I cut 14 strips, but if your runner is much longer, you will need more.
STEP 3: Make your ruffles.
Take one ruffle strip. Fold one edge in a little past the center. Then fold the other side in so it just overlaps the first side. Essentially, you are folding these into thirds. Here are some pictures:

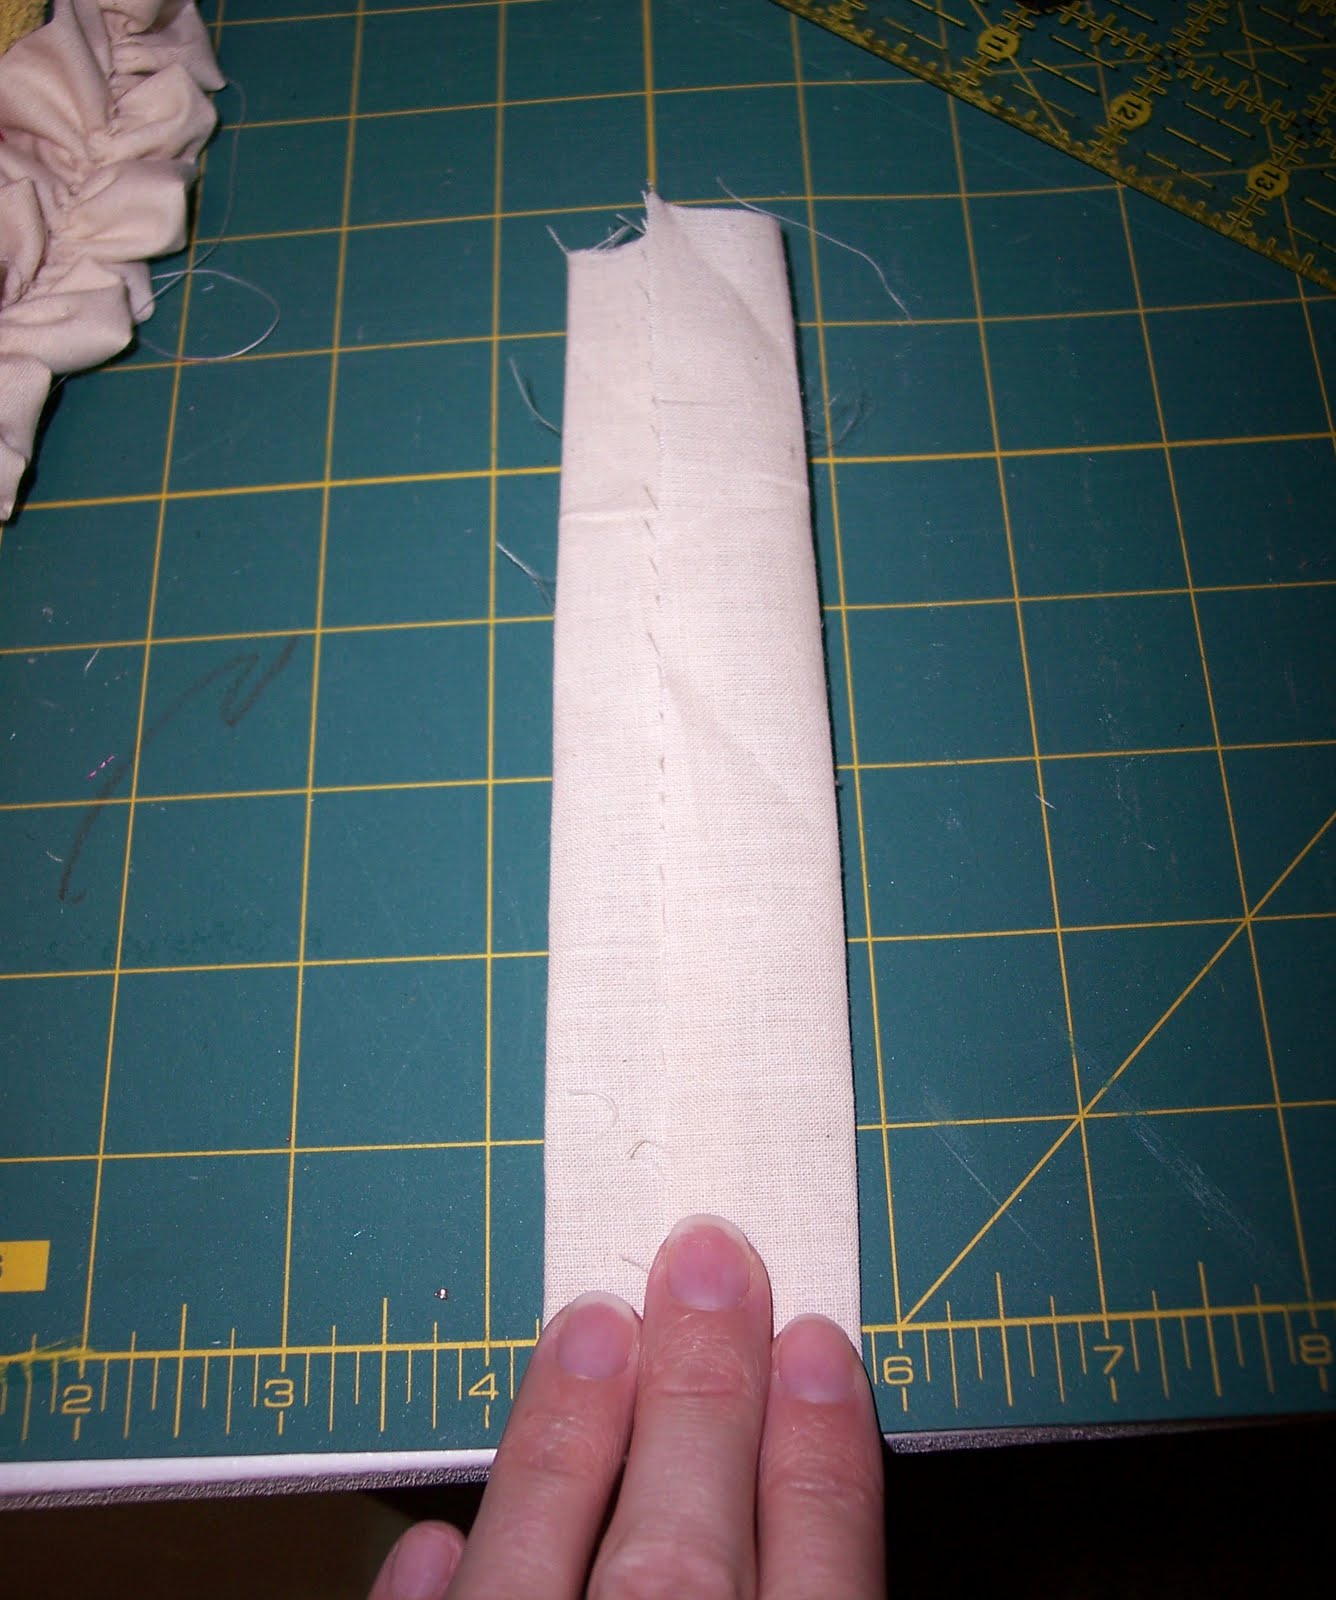 Now sew down the center using the longest stitch your machine will do. Make sure to go through all 3 layers!
Pull one thread on the end of your strip and gather the fabric. It doesn't have to be the perfect length.

STEP 4: Mark you runner top.
Layer your top, batting, and bottom as they will be when finished. Now mark the center of your runner on both edges of the runner. Make marks every 2.25". I used alternating colors of pen so that I'd know which marks went together. The marks will end up under the binding so don't worry about them.

STEP 5: Attach ruffles.
Carefully pin all of your ruffles onto your runner, going through all 3 layers of the runner.
Sew along the center of each ruffle.

Step 6: Add your binding.
You can do the binding any way you want to. This is how I did this runner:
Make a binding by sewing together enough 3" strips of fabric to go all the way around your runner. Iron the strip in half. Then fold each side in toward the center line and iron.
Folding the bias tape around the edges, pin it in place.
Zig-zag stitch around the binding, making sure to go through all the layers.

Enjoy!!! It's a simple, classy table runner.
PS. Linking up to some awesome parties...


