Showing posts with label no sew. Show all posts

Monday, July 12, 2010

No Sew: Fabric Covered Mirror

This was one fun project. It took hardly any time and cost about $2.00. The mirror came free with our house. I guess the previous owners didn't love the nasty, dark wood border. I didn't much care for it either. I wish I had a before shot to show you how yucky this baby use to be.

I removed the mirror and then wrapped each side with fabric. I used my favorite decoupage to stick that fabric on and it's not going anywhere. Ever.

This is my best shot of the full mirror. It is tough to photograph mirrors. I certainly didn't want to get me in there... 6:30 in the morning, PJ's, no mascara... eek. But instead, you get to see my cat dish. Not much better.


This one turned out blurry. But I had to show you because the image in the mirror looks better. That part came in nice and clear. Nice.


I added a fun flower at the top. The middle is a button I cover in batting, then fabric.

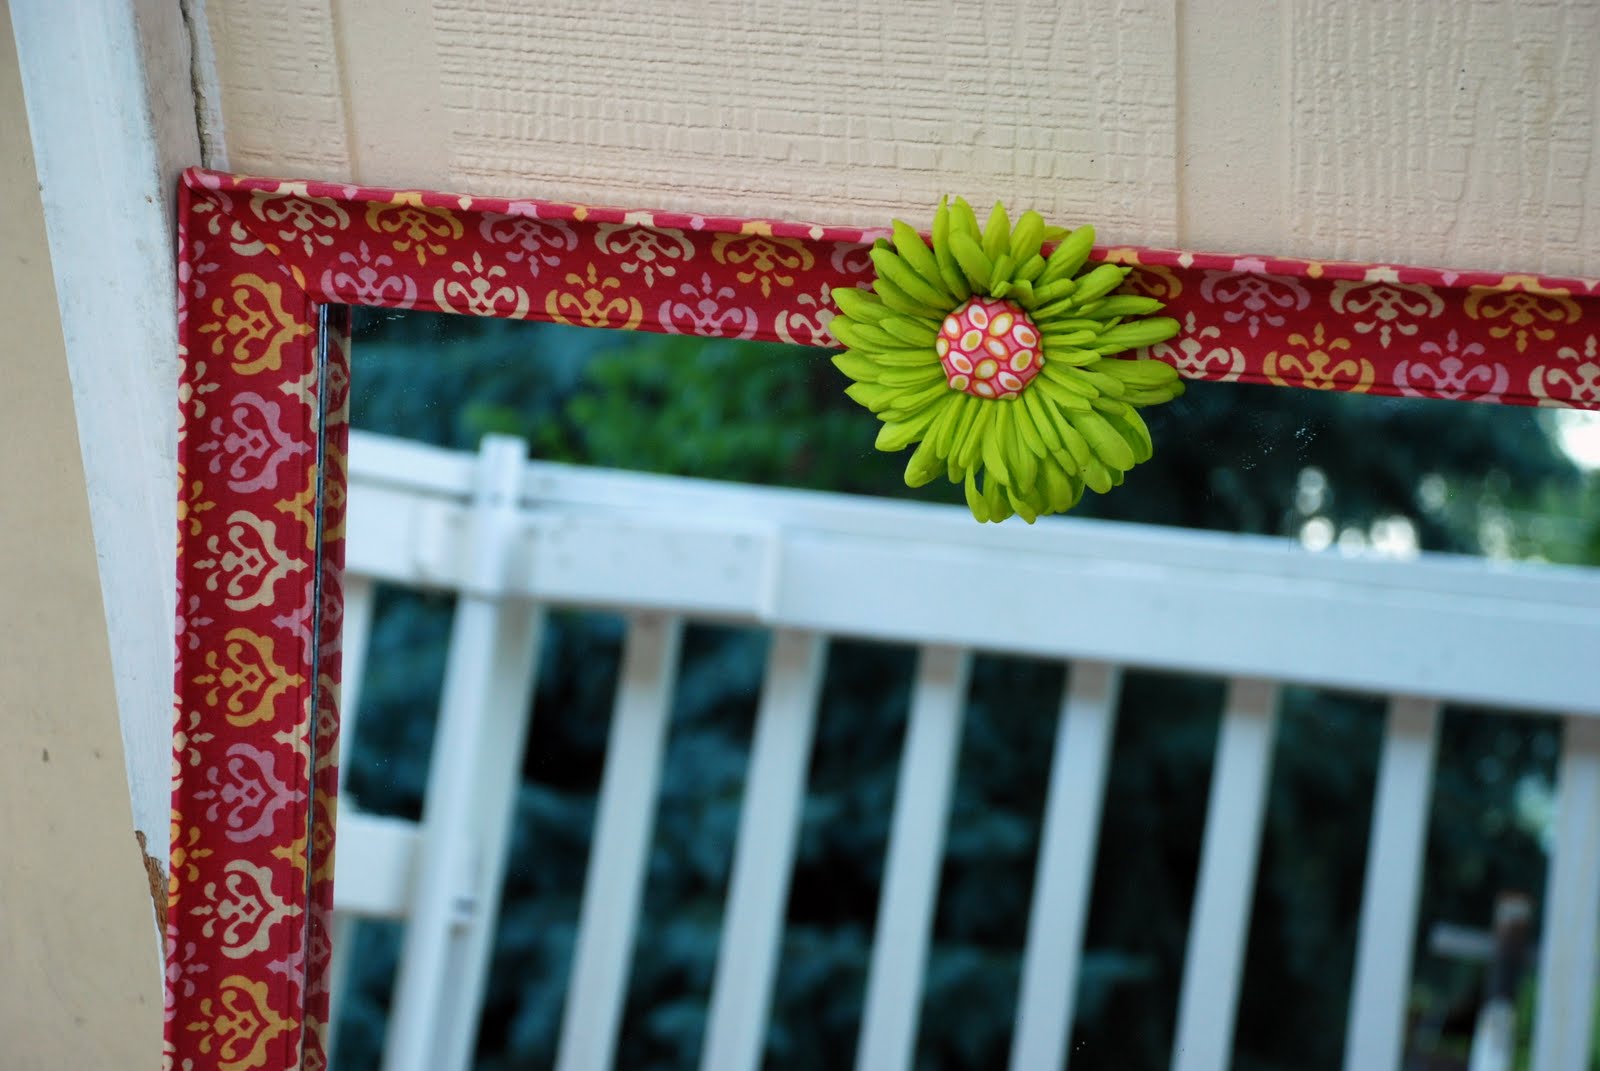
A close-up of the flower, because flowers take good pictures. So photogenic!

I wanted you to see how I mitered the corners. It took a little work, but I got them just so.

Enjoy! I hope you have a nasty mirror you can recreate with fabric!

PS. Linking to a few parties...

Sumo Sweet Stuffmmm buttonMakingKeeping It SimpleThe DIY Show OffThe Girl CreativePhotobucketAll Thingz Related PhotobucketBirthday Wedding cakes crafts partiesMake it Yours @ My Backyard EdenNightOwlCrafting
giveawaysGet your craft on Thurs.Favorite%2BThings%2BFridaybig%2Bbutton.jpgDecor MammaSimply Designing

Monday, June 21, 2010

No Sew: Fabric Covered Hat Boxes


This project was so much fun. These boxes are for my girls "treasures" but they blend right in with the decor. It beats the old shoe boxes they used before. Now those were classy.

The best part: No sewing necessary!

Supplies:

Paper Mache Hat Boxes (Found at hobby stores like JoAnn, or just search online)
Fabric
Decoupage
Ribbon
Ruler
Paint brush

1. Measure those boxes!

Measure the boxes then cut your fabric to size. Give yourself a little extra to fold over so you have nice finished edges.


2. Cover those boxes.

Use your paintbrush and use a little decoupage at a time. Work your way around the box making sure to fold the edges. I folded the bottom up so it was a nice finished edge. On the top edge, I just folded it into the box.

3. Cover those lids.

I traced the circles onto my fabric. Then I cut about 1/2" past my line so I could fold the circle down the sides. Next, I cut a strip to wrap around the side of the lid. I made sure to fold both the top and bottom of the strip so the edges would be nice and finished.


4. Embellish those boxes.

Ribbon, flowers, or leave them blank. The choice is all yours!

Enjoy!

PS. Linking up to a few of my fav's...

Simply DesigningPhotobucketThe Trendy Treehouse

Make it Yours @ My Backyard EdenNightOwlCrafting

HookingupwithHoHgiveawaysGet your craft on Thurs.
 http://www.thethriftyhome.com